I'm sorry, I'm sorry, I'm sorry, I'm sorry, I'm sorry! There, I said it.
I can't believe an entire year has gone by - especially when there are so many updates to share with you! One of the most exciting projects of the past twelve months is the complete overhaul of the front landscape. This project has consisted of everything imaginable - demolition, construction, research and planning, planting, and maintenance - phew. Here's a step-by-step look at the landscape makeover:
1. If you remember, the 51 year old bushes had started to get a bit out of control... Our pathway, windows, and general facade were being overtaken by yew bushes.
2. One of the first things we had to do was rip out all of the existing bushes. This can be a big job, especially with such well-established roots. I would like to say that I labored for weeks to remove everything, but a tree company actually took care of it one day while I was at work. One of the best comments from a neighbor: "Hey, did you know you had brick behind those?!"
 |
| Bushes removed! |
3. Once the bushes were removed, the foundations could be established for the planters we had designed last summer.
 |
| Planter foundations |
4. Once the dimensions were finalized and the foundations poured, our mason Antonio got to work creating the planters. We wanted the look of 'dry-stacked' stones:
 |
| Dry-stack stone planters in progress |
 |
| Antonio at work on the dry-stack planters |
 |
| Dry-stack planters finished! |
5. We took a break for winter...
6. Spring seemed to arrive early this year, and it was time to start re-grading the lawn and establishing the future plant beds - all with the help of our trusted landscape plan!
 |
| Establishing garden beds |
 |
| Landscape plan |
7. Once the beds were established, graded, and weeded, I started defining the borders of the beds with aluminum edging. This edging was incredibly easy to work with, and helped to truly define planting areas vs. grassy areas:
 |
| Aluminum landscape edging |
8. Once the beds were fully defined, I was able to put down weed-stop sheeting. Again, an easy product to work with. Whether it lasts the season has yet to be seen... but I haven't had to weed yet in the past two months!
9. While working on the edging and weed block, I also started choosing plants at the local nursery. It was a great way to keep me motivated through all of the grunt labor...
10. With the help of a friend and a neighbor, the plants started making their way into their new homes...
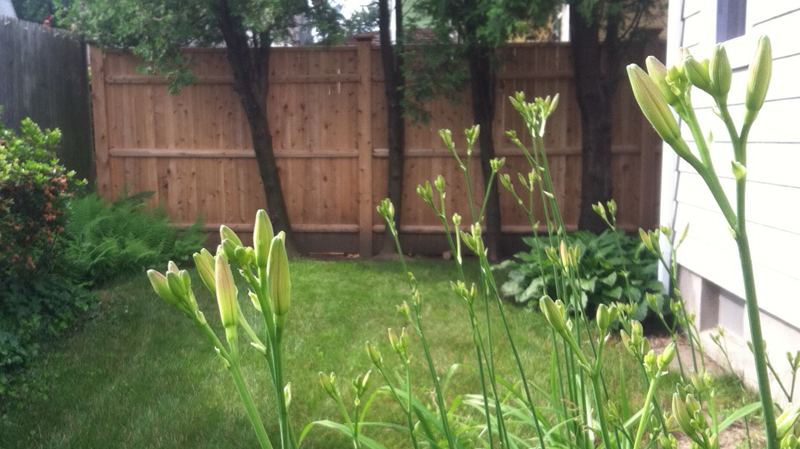
11. I am happy to note that after two months, the garden is beginning to thrive...:
12. ...And the annuals have been added!
Stay tuned, as more plants will be added throughout the season!